What Is Configserver Security And Firewall (CSF) ?
CSF is commonly used firewall that provides a good level of protection with easy to manage commands. It is used for Login/Intrusion detection, SSH login notification, Excessive connection blocking, Suspicious file reporting etc.
In this tutorial, we will go through the Configuration of CSF in cPanel server and also the basic and most important configuration options in CSF configuration as below.
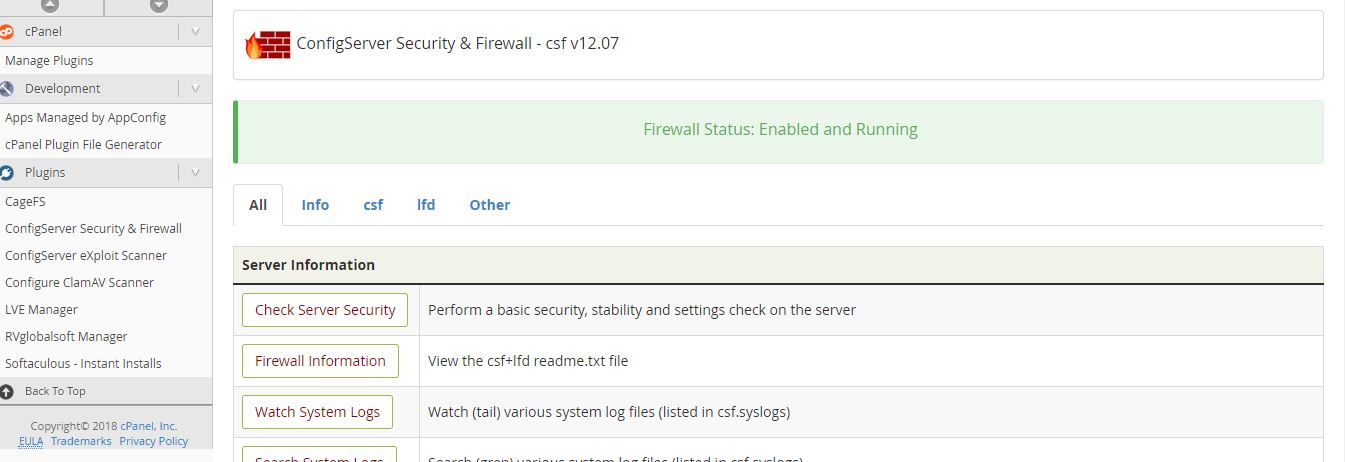
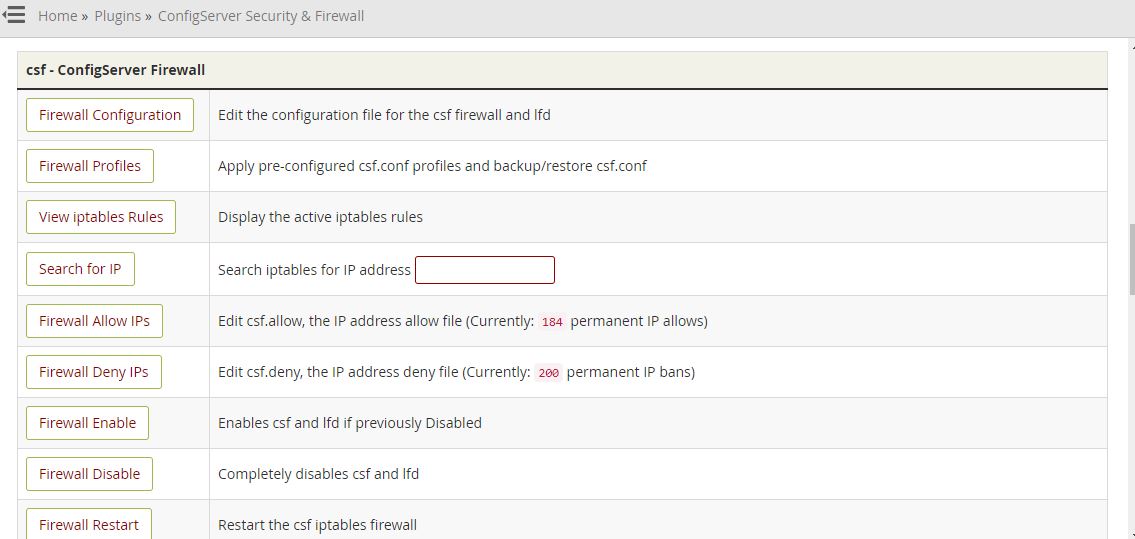
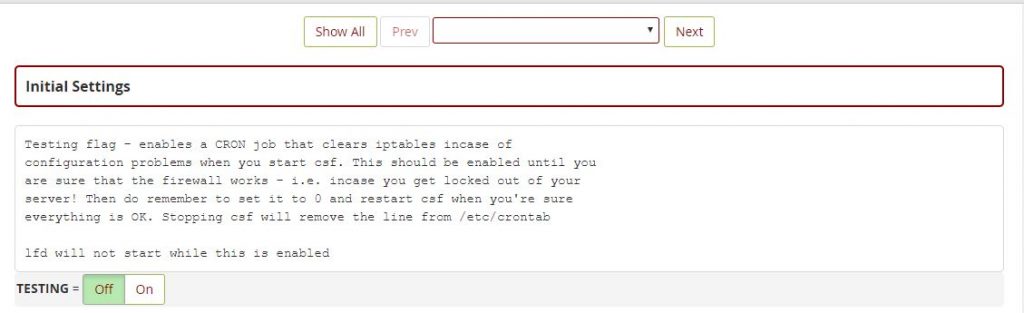
Once CSF is installed on server and started its service by default CSF is installed in ‘Testing’ mode, to change this you need to make the following change in the CSF configuration file via backend or by CSF plugin avaliable in WHM.
Edit the value from or On to Off via CSF Plugin
TESTING = "1" to TESTING = "0"

Allowing TCP and UDP Incoming and Outgoing Ports
Since attackers often exploit open ports in the server, only necessary ports should only be opended and other should be closed in the CSF firewall. It can also be made possible by using TCP and UDP ports in the CSF configuration file. The CSF will block all other ports which are not listed on allowing ports on configuration file.
You need to add port list in below section in the configuration file where you can allow the incoming and outgoing TCP and UDP ports. Always restart CSF service once you have made changes on configuration file.
# Allow incoming TCP ports
TCP_IN = " 20,21,22,25,53,80,110,143,443,465,587,993,995,2082,2083,2086,2087,2095,2096,26"
# Allow outgoing TCP ports
TCP_OUT = "20,21,22,25,37,43,53,80,110,143,443,587,2086,2087,2083,2082"
# Allow incoming UDP ports
UDP_IN = "20,21,53"
# Allow outgoing UDP ports
UDP_OUT = "20,21,53,113,123"
If you have changed your SSH port number, you need to add this new port on the TCP_IN Section.
Also I suggest to configure the values to below for a basic security and stability
-Change security warning restrict_syslog to 3
-Restrict syslog/rsyslog access to
-SMTP_BLOCK = 0 to 1
-LF_SCRIPT_ALERt =0 to 1
-SYSLOG_CHECK = set to 300
-PT_ALL_USERS = set to 1
-Local-infile=0 in mysql configuration file.
-Change ssh port number to 1313
-Disable PasswordAuthentication
-Enable shell Fork Bomb Protection Whm-security-Shell Fork Bomb-enable
-Enable each item in the WHM > Background Process Killer
-Create the file /root/.forward, and add email address in it
-WHM-Edit System Mail Preferences-Forward mail for “root” to:email address
-Set apache TraceEnable = off and rebuilded configuration
-Change WHM - Apache Configuration - Global Configuration - ServerTokens - ProductOnly in apache configuration
-Change WHM - Apache Configuration - Global Configuration - FileETag - None in apache configuration
-Change WHM - Security Center - mod_userdir Tweak in apache configuration
-Change php version to latest version for more security
easyapache-nextstep-php version selection-save and build
-Modify /usr/local/lib/php.ini and set:
enable_dl = Off
-Disable abused php functions in php configuration file
-Enable php open_basedir Tweak
-WHM - Security Center - php open_basedir Tweak
-Redirected to ssl
-WHM > Tweak Settings > Always redirect users to the ssl/tls ports when visiting /cpanel, /webmail.
-Disable WHM - Tweak Settings - BoxTrapper Spam Trap
-Set value for WHM - Tweak Settings -the maximum mail can send out per hour by domains= 20
-Disable compilers WHM - Security Center - Compilers Tweak
-WHM - FTP Server Configuration - Allow Logins with Root Password - No
-WHM - Tweak Settings - Allow Creation of Parked/Addon Domains that resolve to other servers
-Disable WHM - Tweak Settings - Allow users to Park/Addon Domains on top of domains owned by other users
-Disable WHM - Tweak Settings - Proxy subdomains.
-WHM - Tweak Settings - Accounts that can access a cPanel user account set to user only
-Enable WHM - Tweak Settings - Blank referrer safety check
-Enable WHM - Tweak Settings - Referrer safety check
-Enable WHM - Tweak Settings - Hide login password from cgi scripts
-Disable WHM - Security Center - SMTP Restrictions and use the csf configuration option SMTP_BLOCK instead
-Stop and disable portreserve
Change the following parameters for Basic DoS/DDoS Mitigation
Block every IP with excessive connections [CT_LIMIT = “5”]
Block those IPs permanently [CT_PERMANENT = “1”]
Set the IP time limit to 1800 secs [CT_BLOCK_TIME = “1800”]
Set connection tracking interval to 60 secs [CT_INTERVAL = “60”]
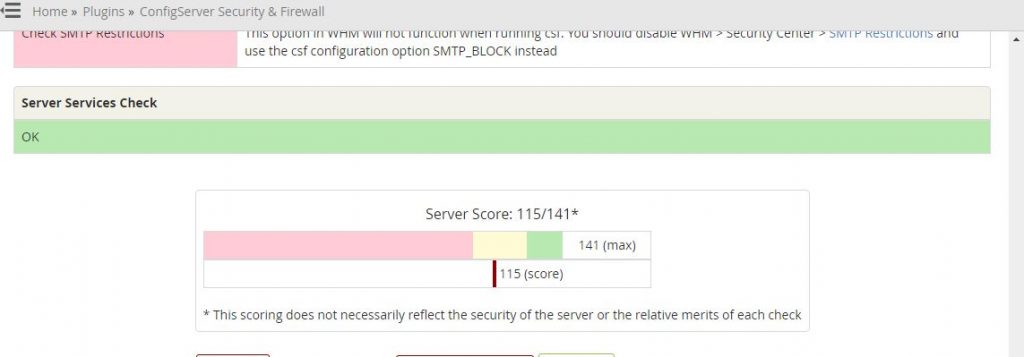
So after making this changes you will get a score according to the security you have done in csf like below.
Your Score: 115/141* , the values may get vary in coming updates of CSF.

Final words
ConfigServe Firewall (CSF) is a firewall configuration script created to provide better security for your server while giving you an easy to use and advanced interface for managing your firewall settings in cPanel servers. CSF configures your server’s firewall to lock down public access to services and only allow certain connections, such as logging in to FTP, checking your email, or loading your websites, but it’s not enough protect your web hosting server.
That’s why you need ModSecurity (ModSec) which helps protect your websites from external attacks. As a web application firewall (WAF), ModSecurity detects and blocks unwanted intrusions into your site. As an industry-standard open source WAF, ModSecurity serves as a strong and flexible resource for not only system administrators, but for all end-users, including merchants. We recommended that you deploy ModSecurity on every server and consider it one of the core components of your site’s security.
If you don’t wanna build own rules, you can use Malware.Expert – ModSecurity rules to protect your web server vulnerabilities and attacks.