If you want to set your site as private, setting up a password can definitely come in handy. In this article, you will learn a few methods on how to password protect your website and why it’s a good idea to have one in the first place.
Why Password Protect Your Website?
Websites are usually open for public access. However, there are some cases when a webmaster would prefer to restrict access to the site.
For example, a password would be necessary for a webpage with exclusive visitors, such as a corporate site that should only be accessed by the staff.
That is why setting up a password is an excellent way to avoid unintended visitors from accessing your website’s content.
How to Password Protect Your Site?
So, how to protect your website with a password? It depends entirely on what type of content you want to protect. In this section, you’ll learn how to set up a password for the entire site, a specific category, and posts or pages.
Before proceeding any further, keep in mind that having a strong password is a must. It should contain a combination of uppercase and lowercase characters, numbers, and symbols. If you need more assistance for creating a hard-to-guess password, you can try using password generators.
Password Protect the Entire Site
To restrict access to the entire site, you can use a WordPress plugin called Password Protected.
Here’s how to use the plugin:
- In your WordPress admin dashboard, navigate to Plugins -> Add New.
- Search for the Password Protected plugin, click Install Now, and then Activate.
- Once activated, go to Settings -> Password Protected.
- Enable the Password Protected Status setting and check the Allow Administrators option next to the Protected Permissions section.
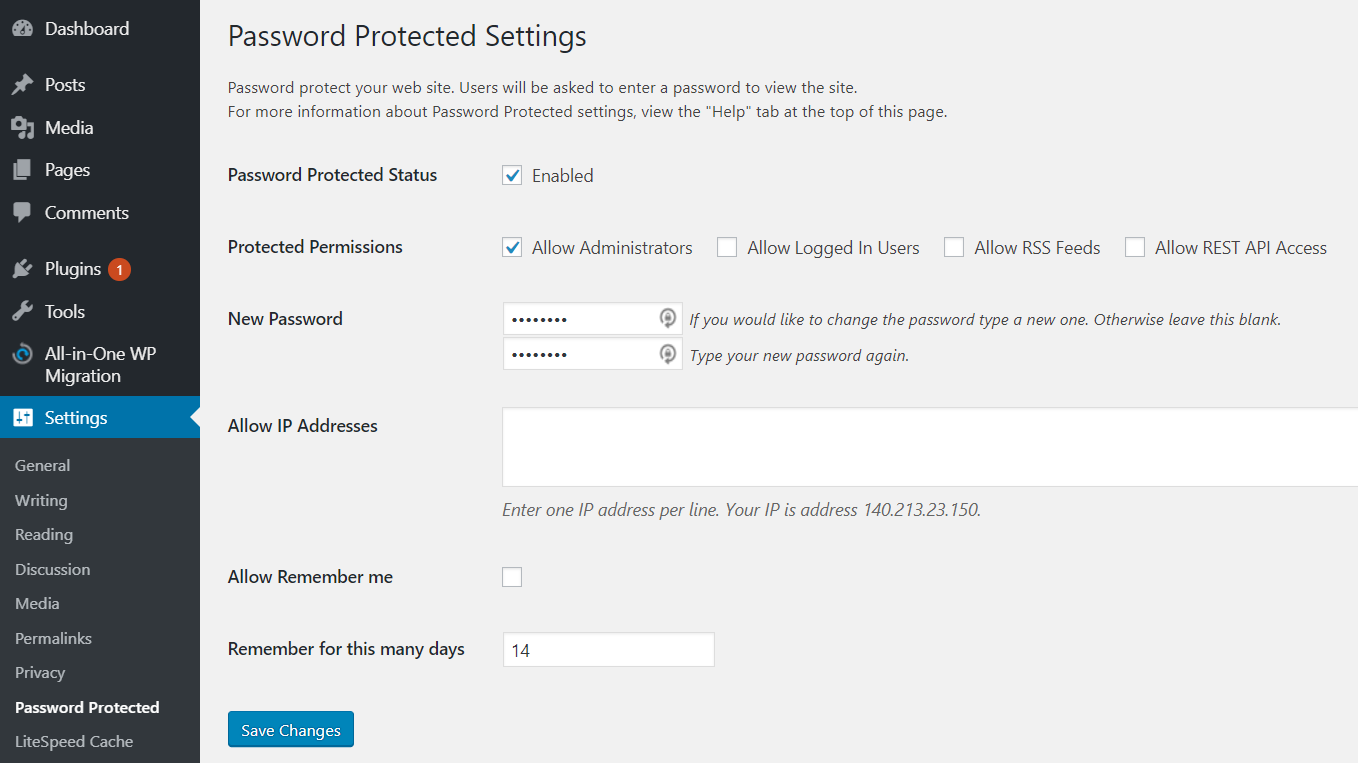
- Create your password and click Save Changes once you’re done.
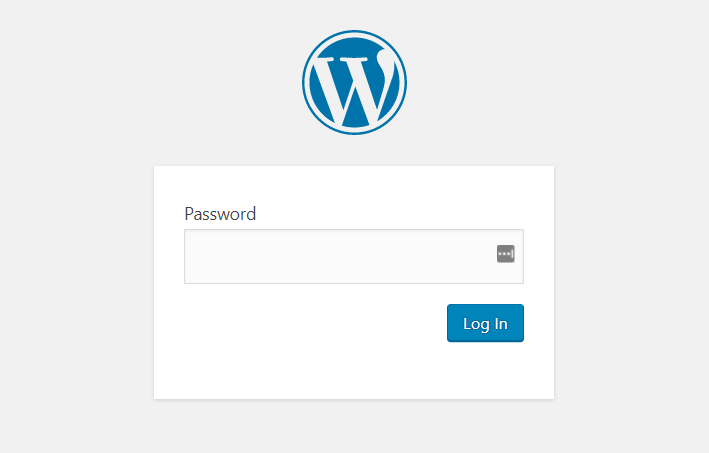
- Now, everyone who wants to access your website, except for administrators, will have to enter the password to view its contents.
Password Protect a Category
You can also use a plugin to password protect specific categories. In this example, we’ll use the Access Category Password plugin.
- Install and Activate the plugin.
- Navigate to Settings -> Access Category Password.
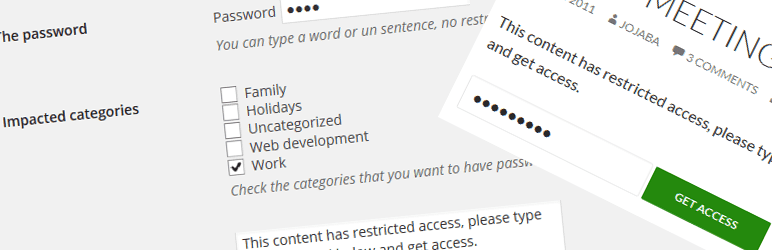
- Set your password and check which Category you want to restrict.
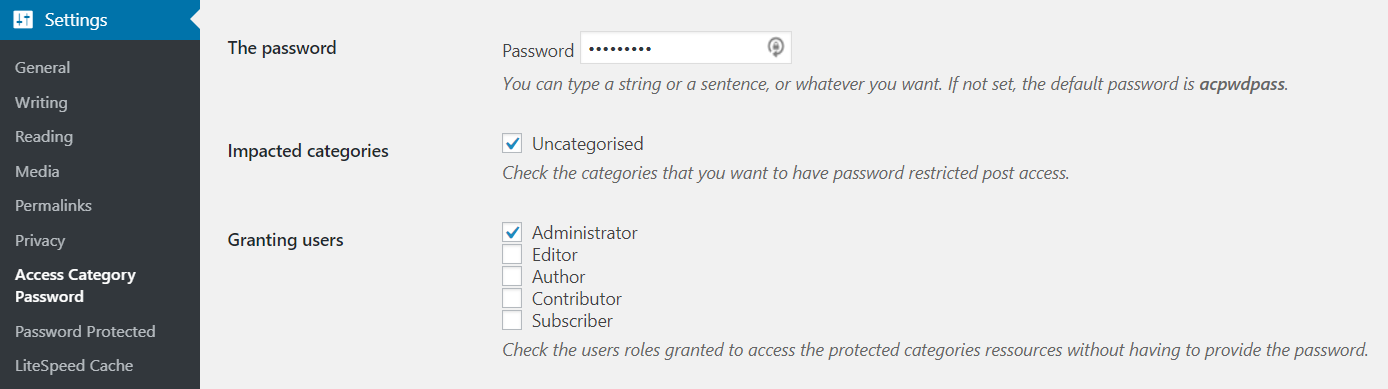
- You can grant access for specific users, such as administrators, by selecting each one individually next to the Granting Users section.
- Posts in the restricted categories will be hidden. However, if you check the Only Single Post box, the post will still be displayed as excerpts.
- You can customize the Info Message that will be shown in the restricted category. Furthermore, you can also stylize the Enter Password form to your liking.
- Once you’re done tweaking around with the settings, click Save Changes.
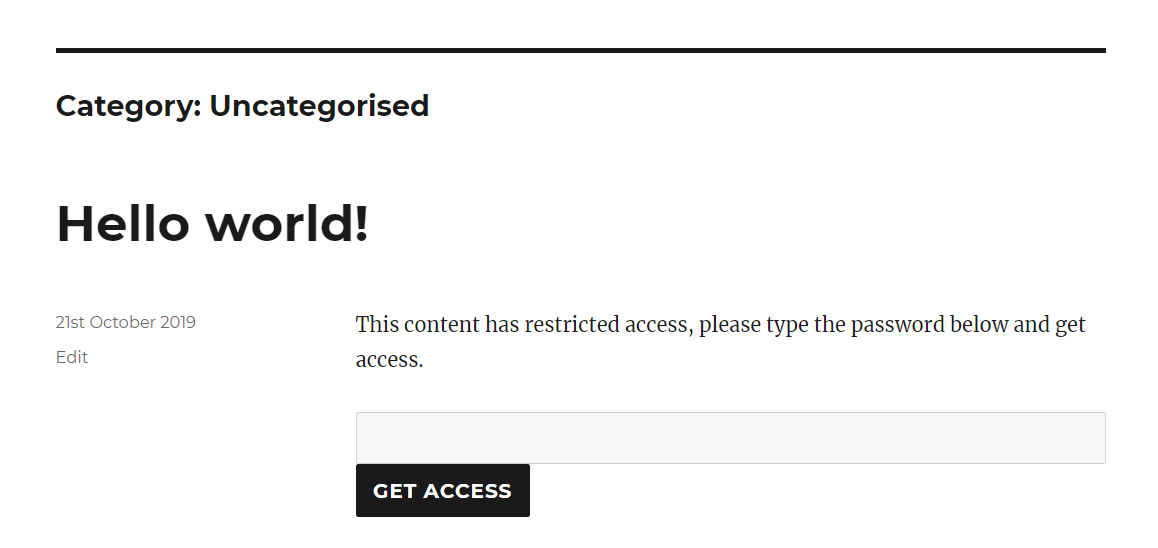
As an example, this is what you’ll see if you visit the restricted category.
Password Protect Posts and Pages
You don’t have to install any plugin to password protect specific posts or pages. WordPress offers a built-in feature to control post and page visibility. Simply go to the WordPress admin dashboard and navigate to Posts or Pages.
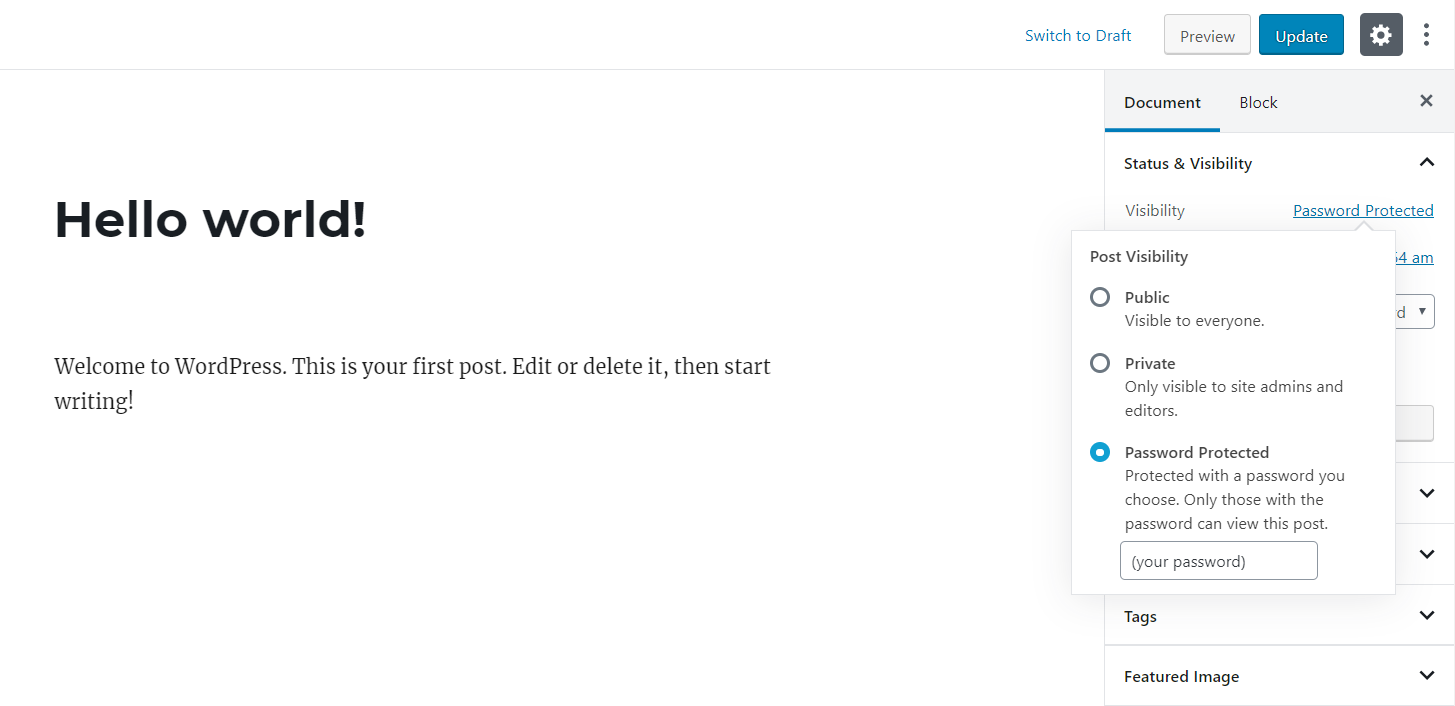
Search for the post or page you want to set as private and find the Visibility option. It’s available in both WordPress Block Editor and WordPress Classic Editor. Choose Password Protected and it will allow you to set a password to access that particular piece of content.
Once you’ve set the password, click the Update button. Here’s how it will look like when you want to access the post:

Now, what if you want to password protect a specific part of your post instead of restricting the whole piece? Well, you can achieve that with the help of the Passster plugin.

Passster allows you to restrict a part of your content by placing a shortcode.
- Install and Activate the plugin.
- Navigate to Settings -> Passster.
- Under the Shortcode tab, set the Protection Type to Password and create your password below. If you need a random-generated password, just click Generate Password.
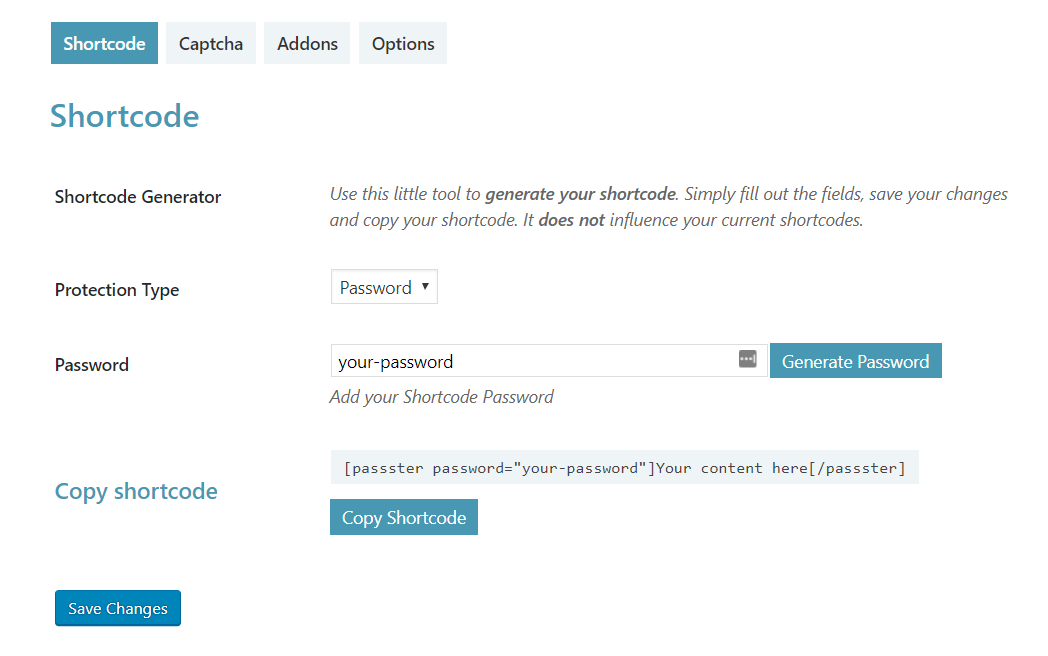
- Once you’re done, click Save Changes and select the Copy Shortcode option.
- Go to your post or page with the content that you want to restrict. Place the shortcode like in the following example.
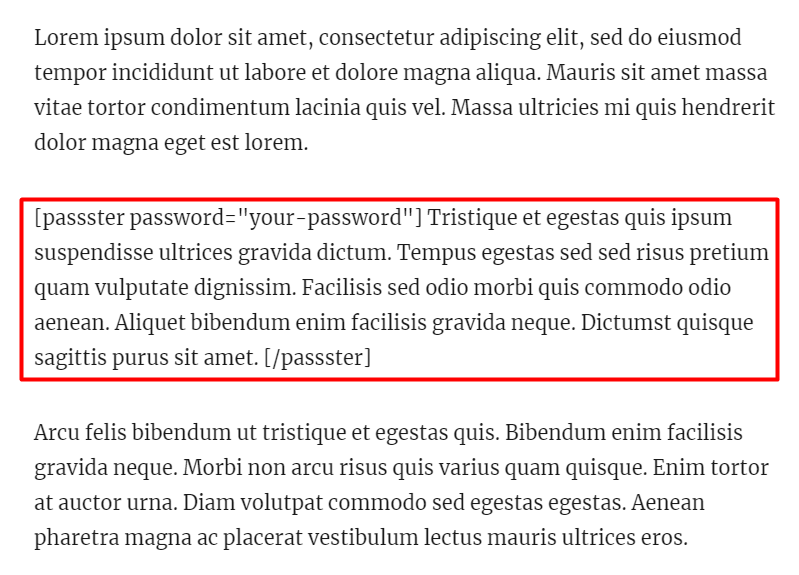
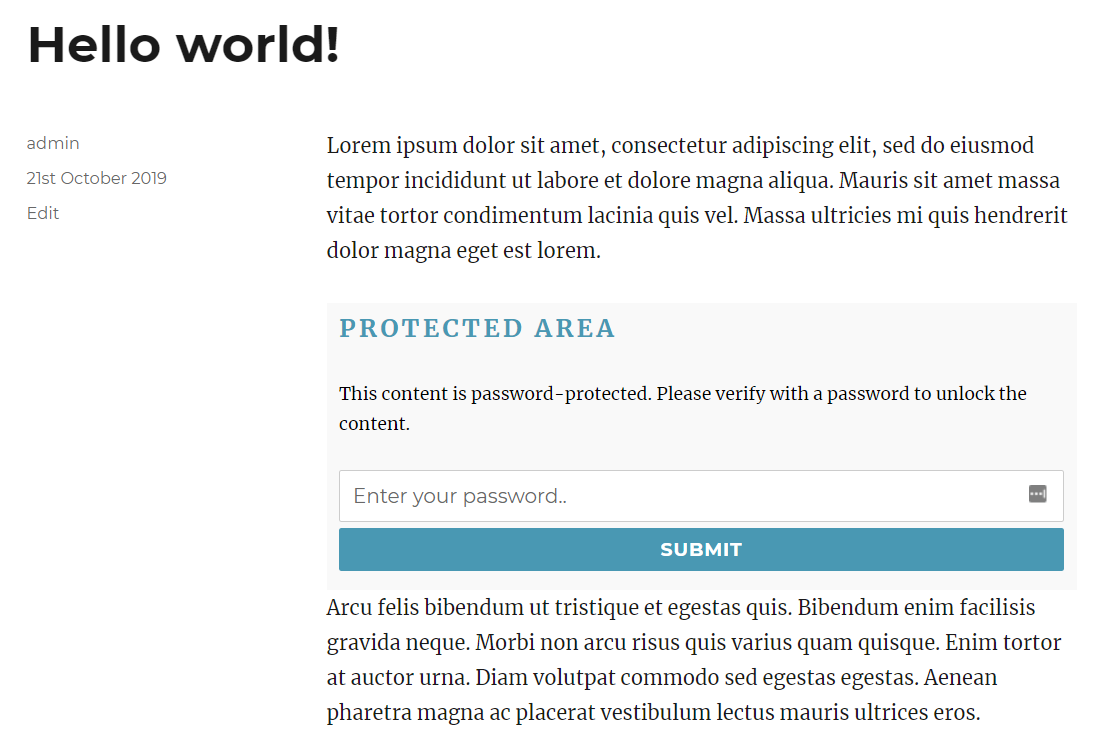
- Once finished, click Update. Here’s how the post will look like after you’ve set the password:
Passster also provides Captcha protection if you want to protect your content from automated bots. Let’s try setting it up:
- Navigate to Passster’s dashboard, and go to the Addons tab
- Select Activate Captcha -> Save Changes.
- Under the Captcha tab, you can configure the Captcha code length, width, and height. Once done, click Save Changes.
- Now, go back to the Shortcode tab, and change the Protection Type to Captcha. Then, save your changes and copy the shortcode.
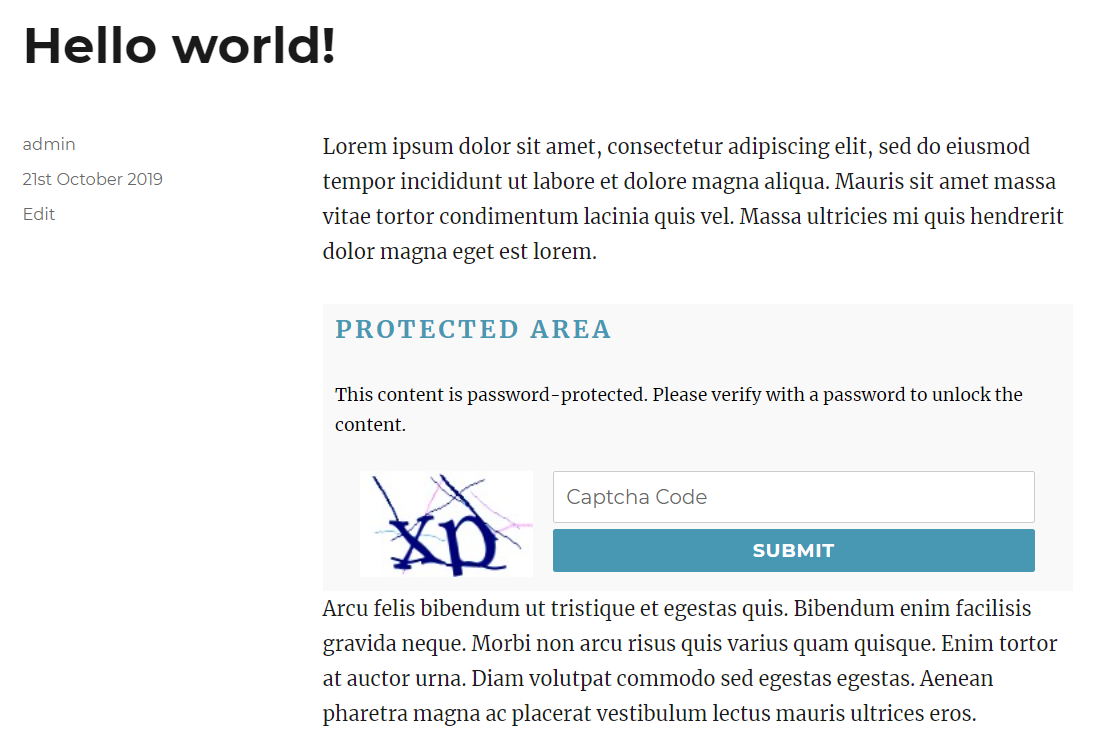
- Go to one of your posts, and place the shortcode between the parts of your content, just like before. Click Update once you’re finished.
- Here’s an example of Captcha protected content:
Conclusion
You can set a password to protect your website and your content from unwanted visitors. In this article, you’ve learned how to password protect an entire website, category, and a specific post or page through the use of some WordPress plugins.